Underworld Thief’s Bedroom & Study – UE4 Environment Diorama
This project was created in Unreal Engine 4 during my early stage of learning real-time environment production. As I was still new to the workflow and pipeline back then, the project took approximately 4 months to complete from concept breakdown to final lighting and color grading.
Beauty Shot
Process Breakdown
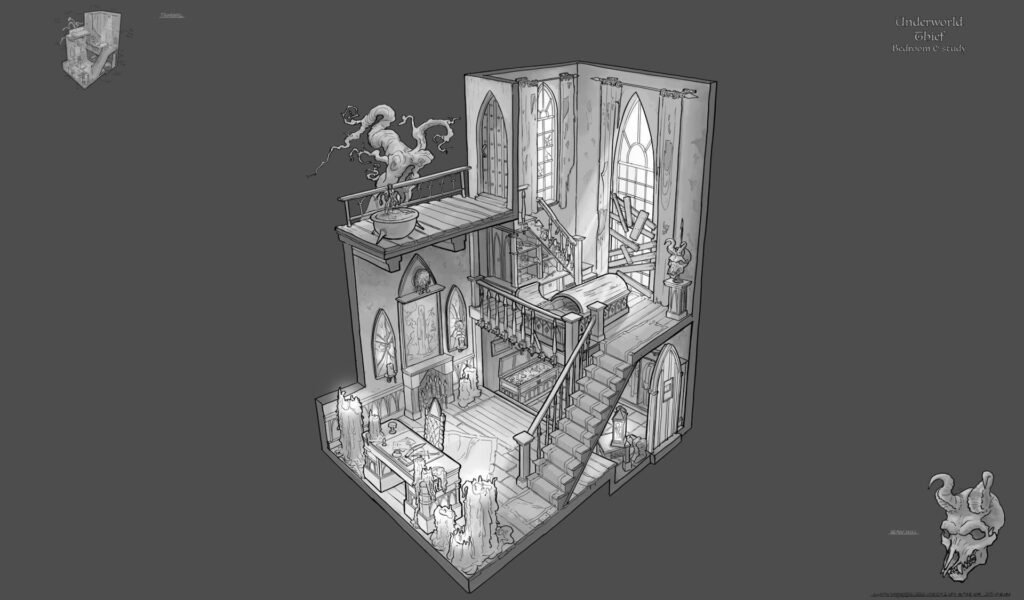
1. Concept Analysis & Planning
I started by analyzing a concept art by Gustav Nordgren that I found on Pinterest that immediately stood out to me in terms of mood, composition, and storytelling.
2. Blockout Phase
Before committing to detail, I created a full blockout to establish correct proportions, and camera composition. The blockout was then imported into UE4 and used as placeholder geometry while assets were being developed in parallel.
3. Asset Production
Each prop and architectural element was built individually.
4. Asset Integration
Once completed, placeholder meshes were gradually replaced with final assets inside UE4.
At this stage, I continuously adjusted scale and placement to maintain visual balance.
5. Lighting & Baking
The scene uses static lighting in UE4. The process start with placing static lights for primary illumination. followed by bake lighting to mesh for optimized performance. “fake lights” also added in darker areas as moveable lighting to guide the viewer’s eye and enhance visibility.
6. Fake God Rays
The light beam coming through the stained glass window is created using a simple mesh with opacity mask and emission mask. This technique allowed me to simulate volumetric light without heavy performance cost.
7. Color Grading & LUT Workflow
For final color treatment:
Captured a screenshot from UE4
Exported the default LUT
Edited the screenshot in Photoshop to achieve the desired tone
Extracted the adjusted LUT
Re-imported the custom LUT back into UE4
This ensured consistency between Photoshop grading and real-time rendering.